SIMPLE HAIR DIY'S

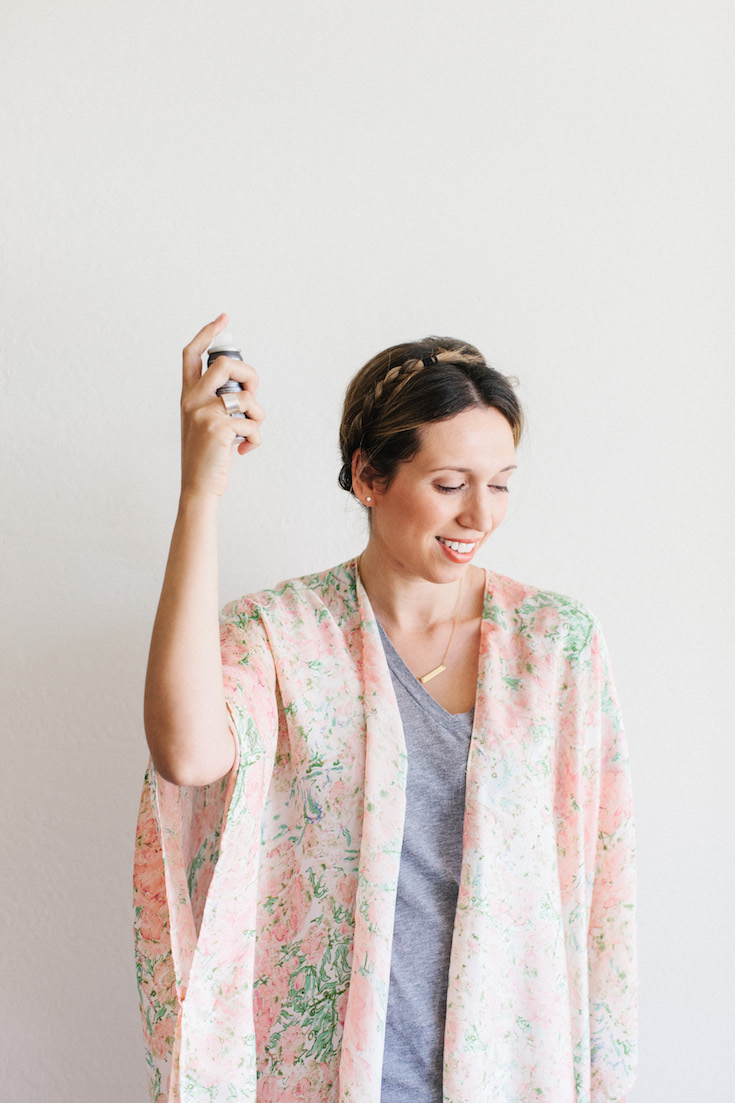
Pinterest is a treasure trove of hair DIY's. From voluminous "Elsa" braids to seemingly impossible up-do's, there's never a lack of hair inspiration. Pinning hair tutorials is easy, but executing them is often a very different story. (We've all seen Pinterest fails...) Many of the hair tutorials I come across require either super long, thick hair or the skill level of a professional hairstylist. My hair has just gotten to the length where it's able to be put up into a braided crown style, and the whole reason we're in search of hair DIY's is to avoid a trip to the salon, right?

If you've found yourself discouraged by hair tutorials in the past, worry not. I've rounded up some easy hair DIY's that can work on almost any hair type, and they're simple enough to execute before running out the door on a busy morning. 

Hair DIY's.jpg

In order from left to right: 

Wrap Around Pony via SELF

Half Up Bun via Kassinka 

Slicked Back via Byrdie 

Pony Tail Barettes via The Beauty Department

Braided Bangs via Style Me Pretty

Half Up Bobby Pin via Treasures and Travels 

For more hair ideas, follow along with my beauty board on Pinterest. 

HAIR TRENDS

Back in high school dying your hair blue was reserved for the punk rock, rebellious kids. Now it's a style trend that can't go unnoticed. Most women under 30 have attempted gray, pink, purple and blue, and the trend doesn't appear to be going anywhere. Here are some other trends you should definitely consider embracing because, after all, if you don't like it your hair will always grow back, right? 

Gray is the new black. Hoards of young women are going gray... on purpose. This new hue can be seen on runways like Gucci and celebs like Hillary Duff or Rihanna. In fact, this hair color has become so trendy I bet you'll even be able to spot it on a hip 20-something at your local coffee shop. 

Sleek and twisted are two key words when it comes to this spring's hair trends. Maybe we can attribute it to the latest Starwars flick, but Princess Leia buns have never been so cool. 

If you can't be bothered to gel your hair back into a precisely parted and knotted bun, do not despair. This next trend barely requires you to brush your hair at all. Embrace bed head and the art of the undone 'do. Give your hair a tousled look with a rough blow dry and some sea salt spray and call it a day. 

If you've ever considered getting bangs, now is the time to take a leap of faith. Bangs are not only the ultimate fashion-girl haircut (Anna Wintour, Naomi Campbell, Alexa Chung...) but they are in style and oh so much fun. Longer fringe is always a safe bet, but if you're feeling brave, take some inspiration from the sharp, short Rodarte bangs above. 

Images from Vogue.com

CURLY HAIR STYLING TRICKS

All of my life I wore my hair up or straight because I didn't know how to style my natural curls in a way that didn't make me look like Ms. Frizzle (you know, that lady from the Magic School bus with the crazy red curly hair...). Curls are hard to style, and with so many different hair textures and curl types (ringlets, waves, corkscrews) it's hard to know which products are the best for my hair.

I have thin, fine hair and my curls are kinky with some straightness at the root with the curl showing up at the bottom. It's hard for me to get volume at the root when I using curl creams and anti-frizz serums, but they are a necessary evil to avoid the frizz. I have always had to settle for one and create volume with back combing and hair spray.

I have finally found a system that works really well, and it's the Bumble & Bumble BbCurl line. I use their Curl Primer, Curl Cream and Curl Mousse.

Here's my step by step process of how I create beachy, touchable, no-frizz curls...

1. After you have shampooed your hair, apply conditioner but avoid your roots. Take a wide-tooth comb and comb through your hair while still in the shower. Flip your head over and rinse out the conditioner by scrunching your curls over and over again.

2. Turn your shower off, step out and dry off your body, but AVOID towel drying your hair. Leave it sopping wet by simply wringing out the moisture with those curl scrunches upside down.

3. Layer your product: curl primer, curl mousse and curl cream. Apply to the hair in the continued scrunching motion with your head upside down.

4. Get your blow dryer, set it to the low setting and start drying your hair upside down. Cup the curls gently so that they don't blow everywhere, which can create frizz. It's going to take awhile, but blow drying your hair upside down with cupping the curls and occasionally scrunching them is going to bring out even more curl than you have ever seen before. 

5. Once your hair is all of the way dry, flip your head upside down and shake your curls out. You might even want to bring your fingers to the root of your hair and do a little rub there to separate them a bit.

That's it! Tell me how it works for you and embrace those waves and curls!

Photos by Rennai Hoefer.