BEFORE & AFTER: LIVING ROOM REVEAL

This post is sponsored by World Market. All opinions are my own. 

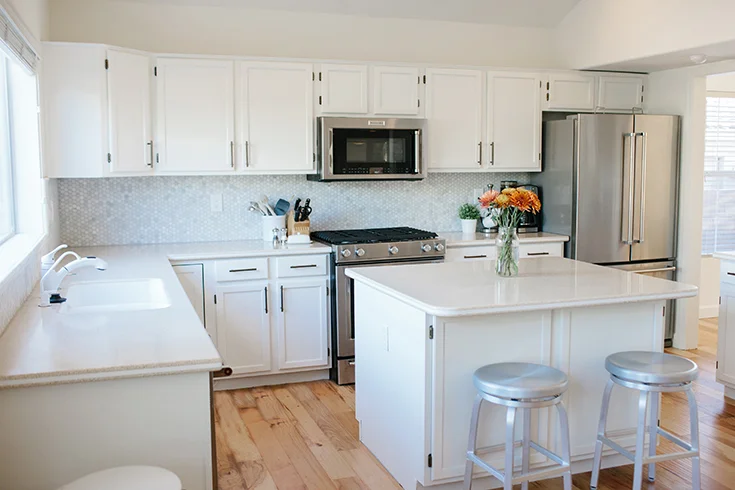
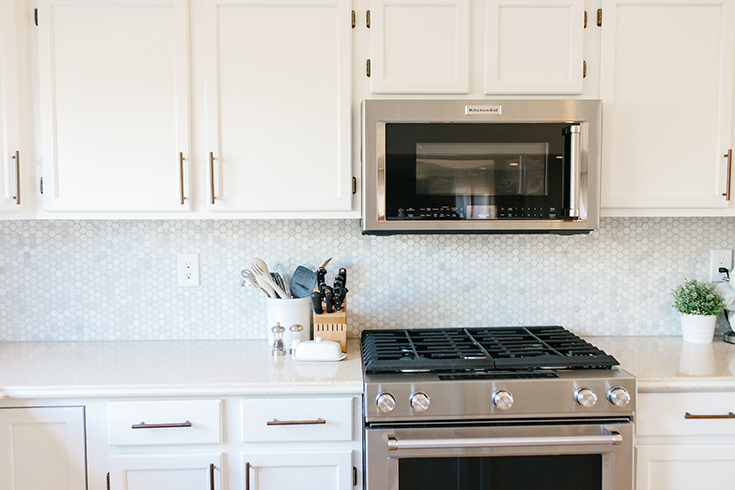
We are coming up on our 1st anniversary of living in our new home, and I can honestly say it feels like our home now. After transforming the bedrooms (master, girl room, nursery and guest room), updating the kitchen, and sprucing up the dining room, we have finally completed our living room and truly made this house our own thanks to Cost Plus World Market. It's arguably the space with the most transformation because we had to fill in a sunken in room with 10 inches of gravel and 2 inches of concrete.

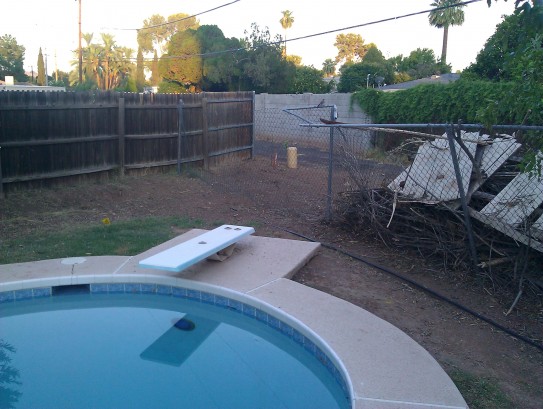
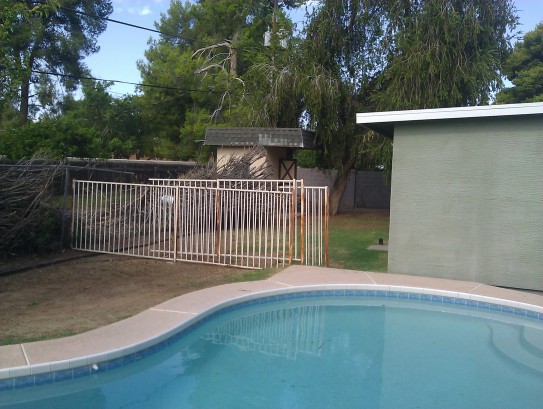
Formal living rooms are usually wasted spaces in homes, but I was determined to make ours one worth living in. After-all, you pay good money for that real estate. I'd love to share with you the elements that I included to make this space one that we would use often. But first, let's see the ugly before pictures so you can see how UN-livable the space was.

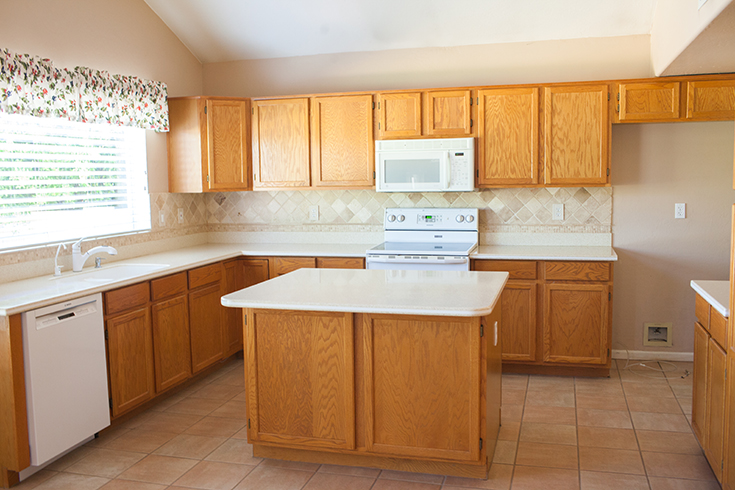
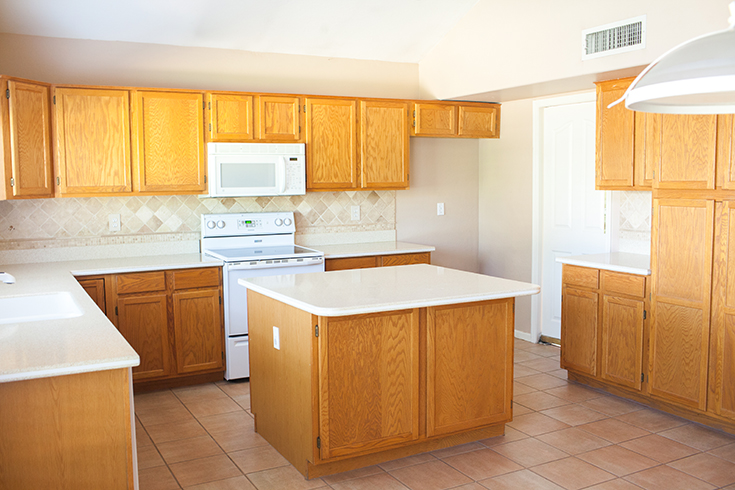
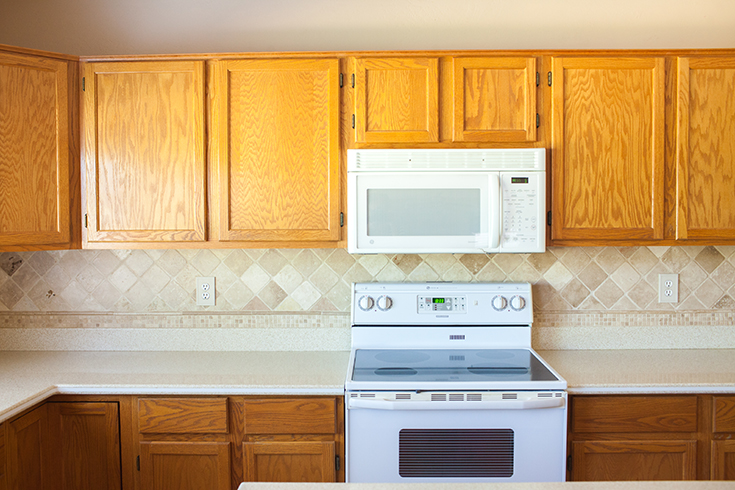
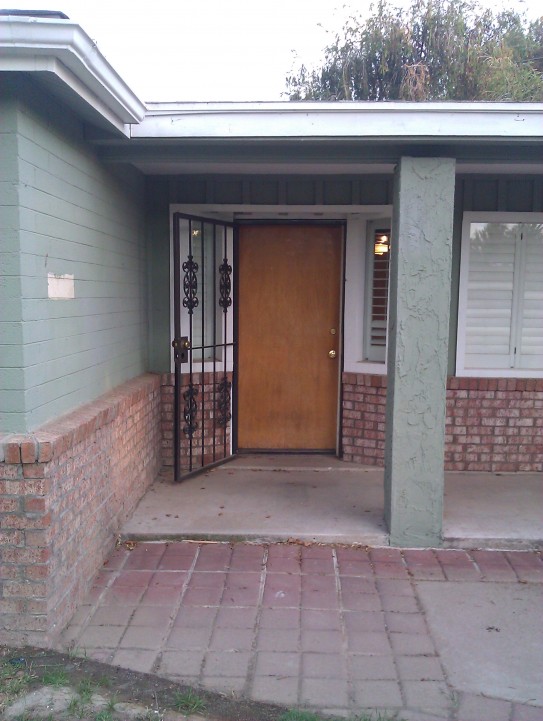
This house was built in 1993, and hadn't been updated since it was first built. Sunken in living rooms used to be a popular design element, but not anymore. Not only does it chop up the space, but it's not easily accessible. The banisters made the living room feel secluded from the rest of the house.

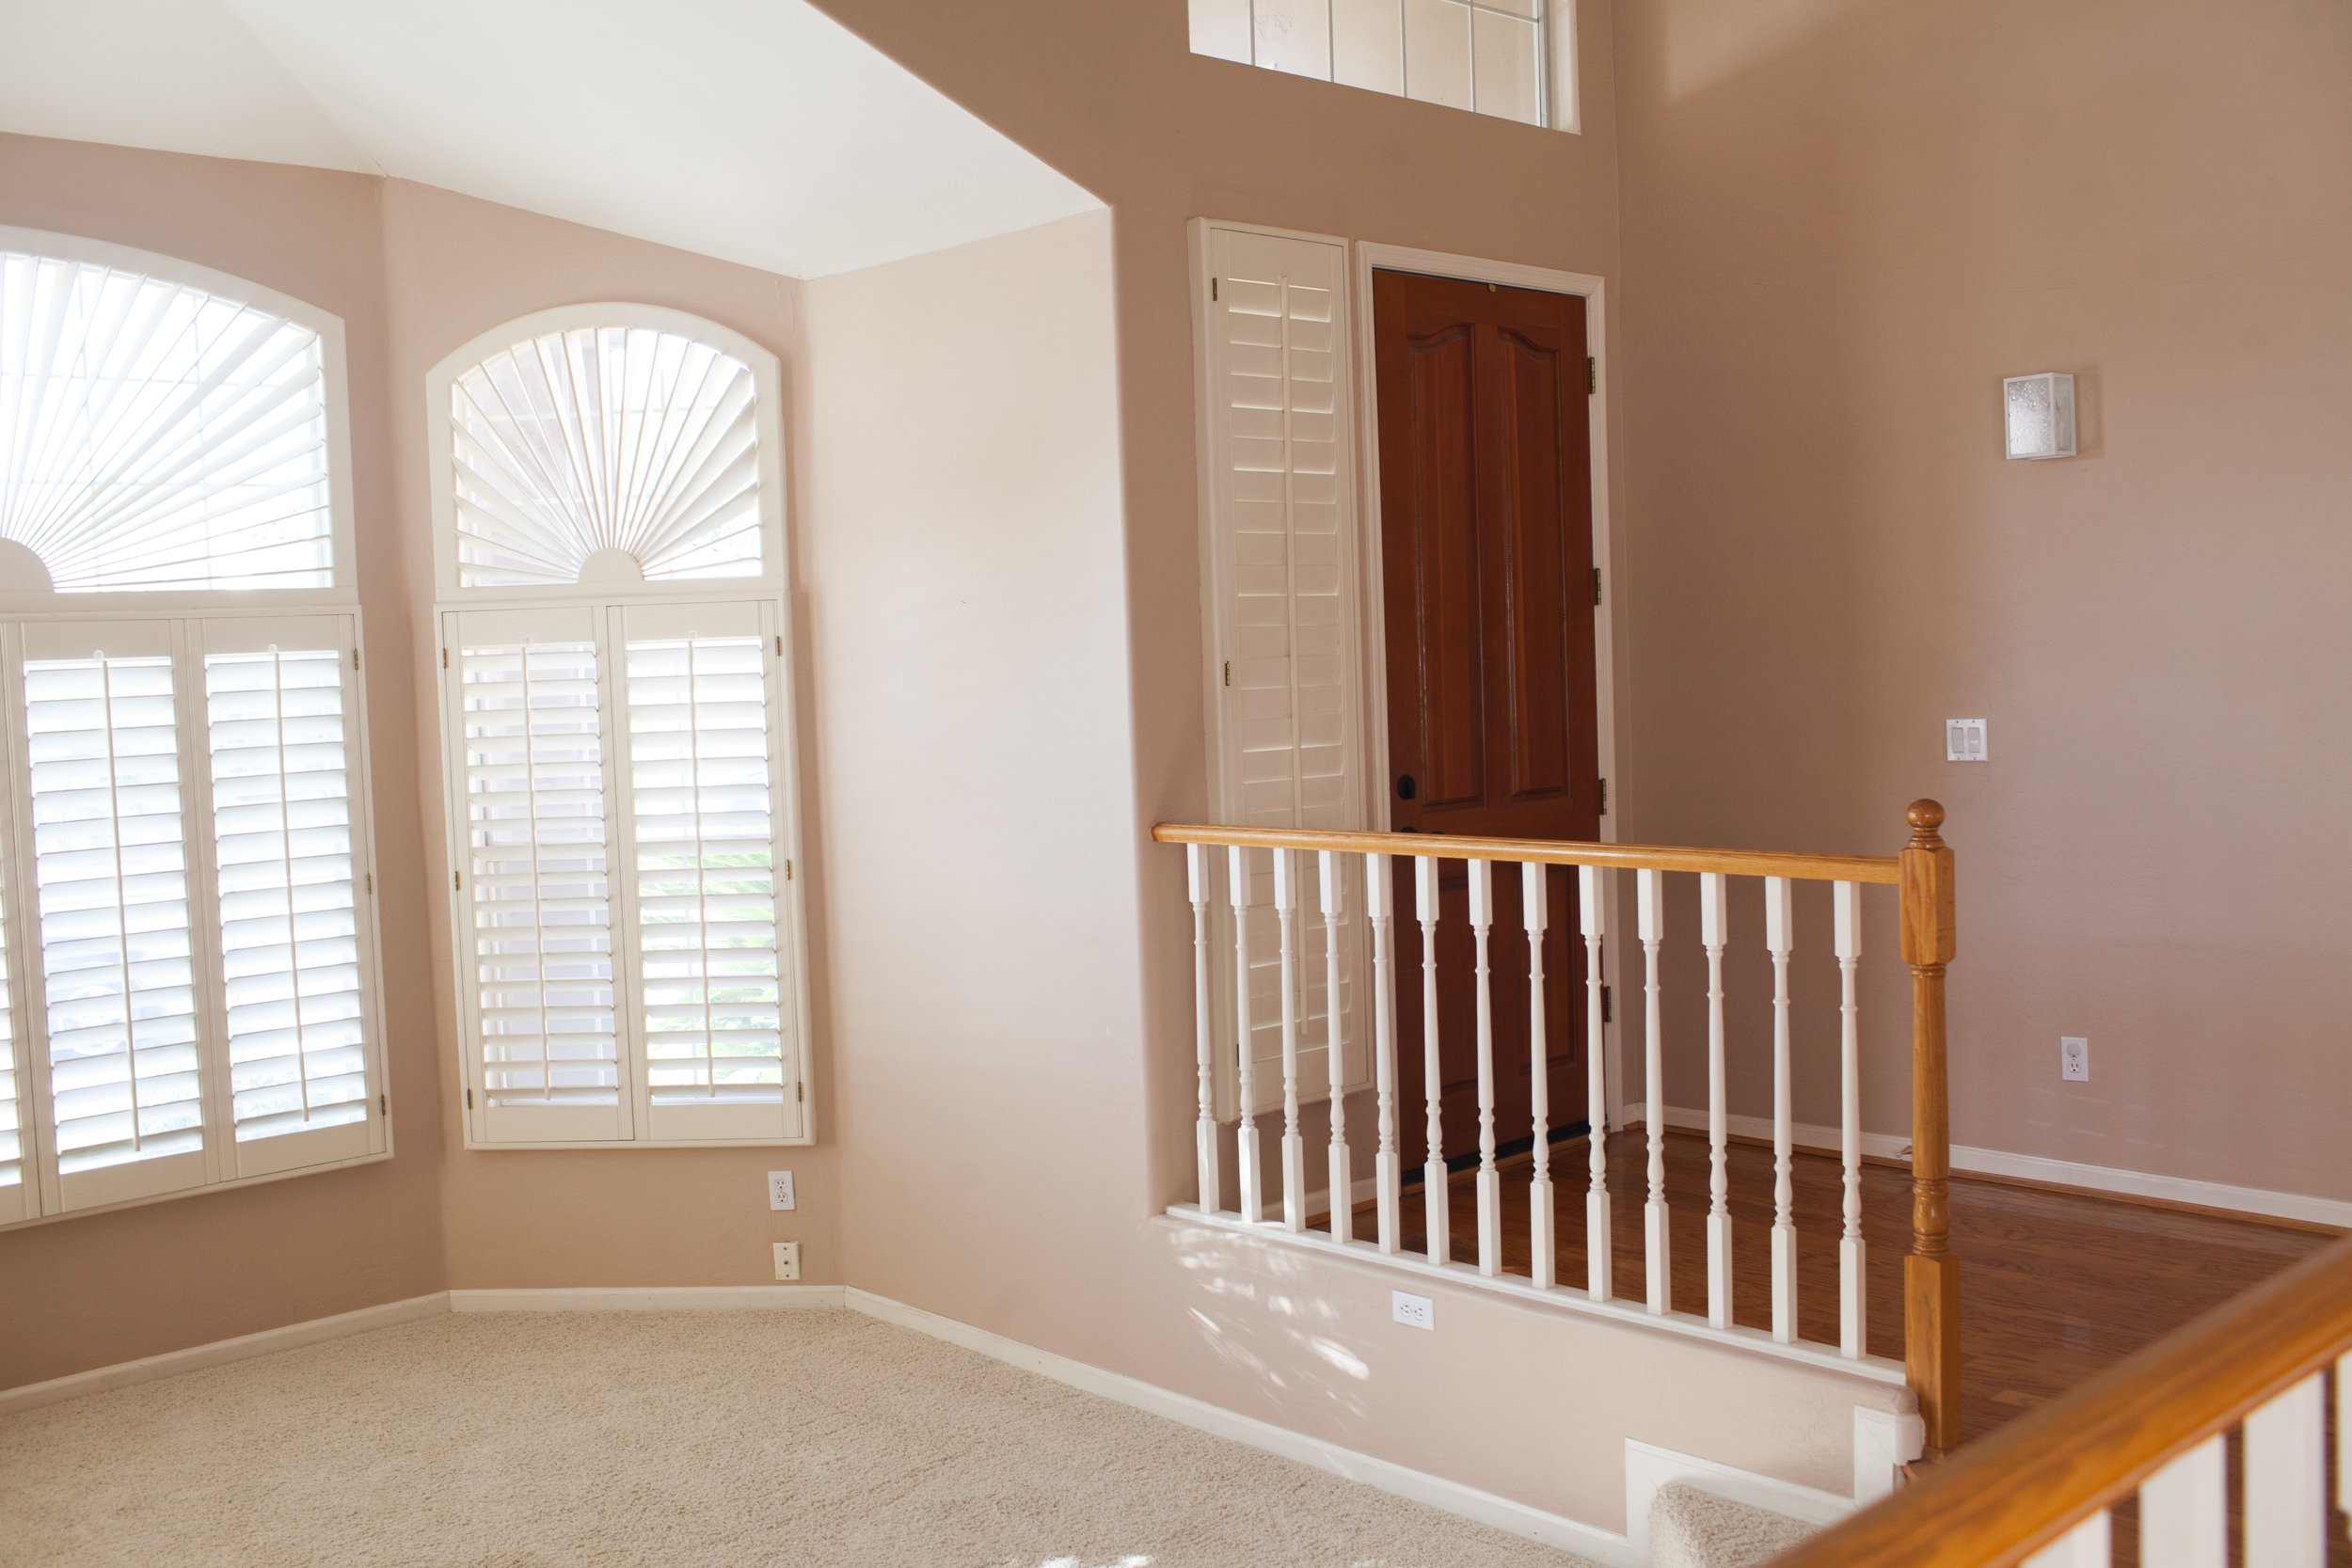
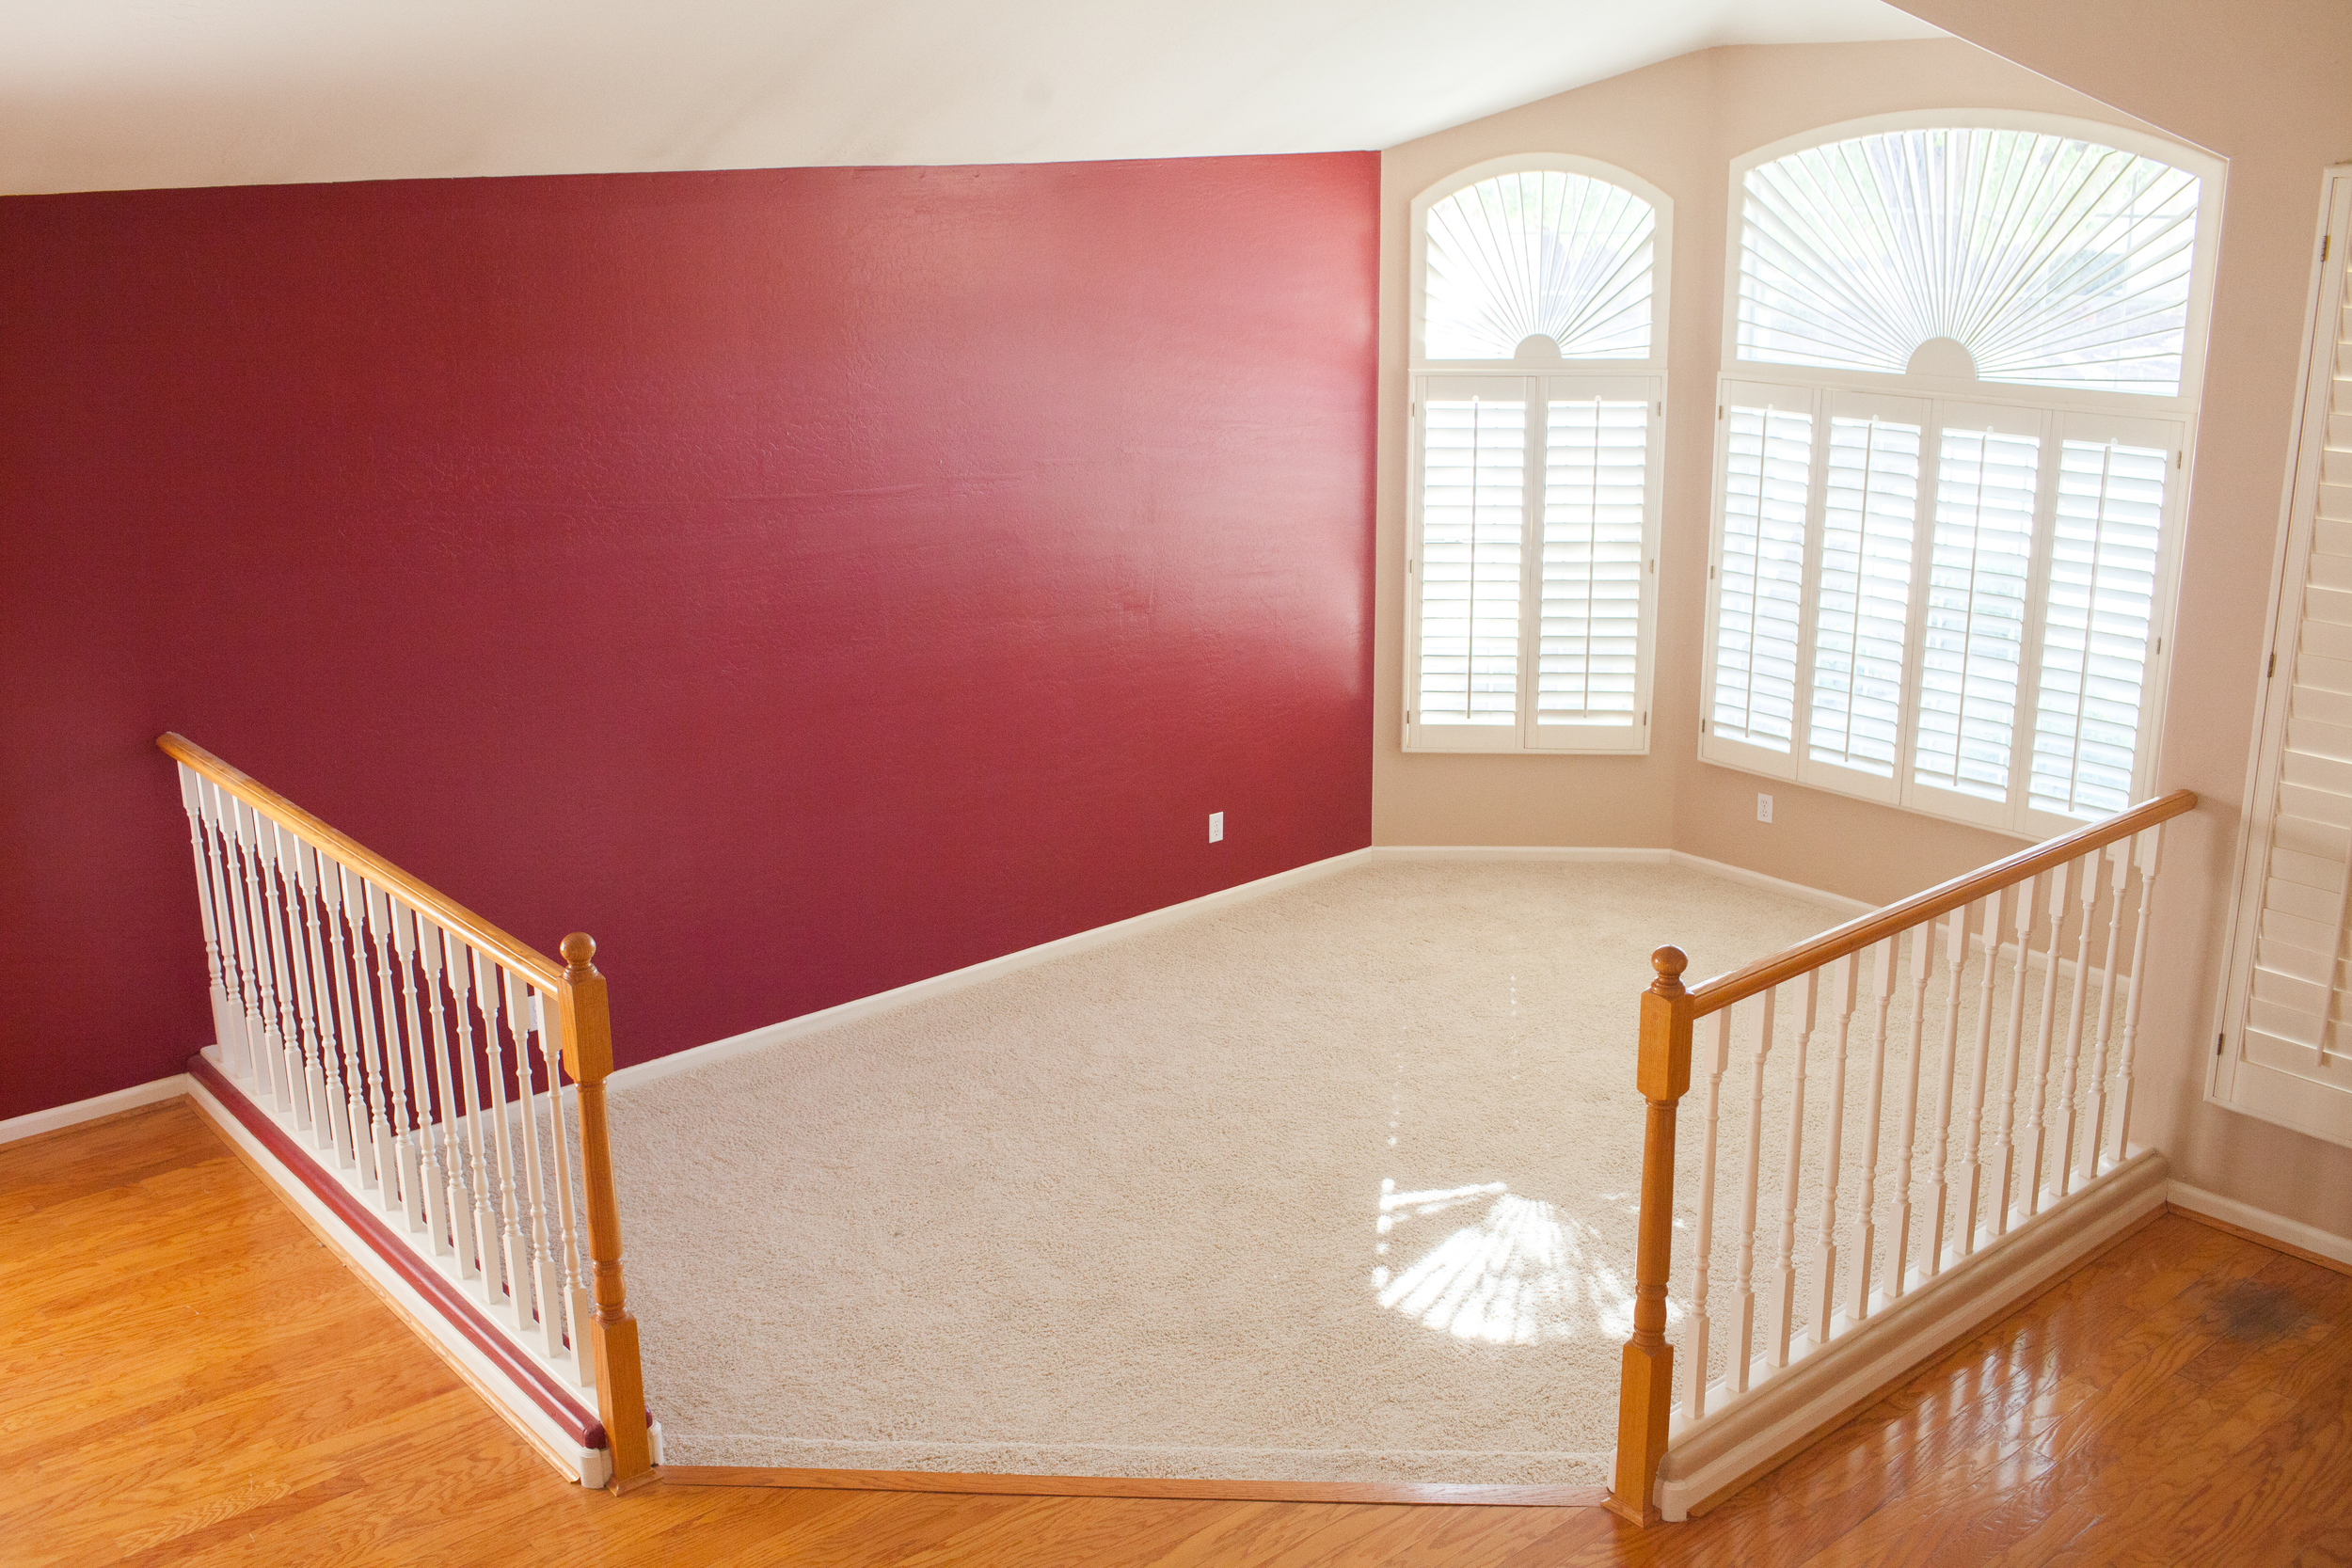
Eek! But, the reason we bought this house was that it had great bones and tons of potential. So, after filling in the living room with concrete to make everything level with the rest of the house, stripping off the banisters, painting the walls white and adding wood floors we had a beautiful blank slate to work with. 

The first element I made sure to include in our livable living room was plants. Having living things in your spaces makes you come back and care for them. Plants also provide oxygen, and with these tall windows, it was the perfect home for them. I love the popular design trend of using macrame planters, and I used them to bring the eye upward and fill in the empty space above (made by Sonora Handmade). I also made sure to have several plants on the ground to even out the green. My favorite "planter" is this geometric brass wall art from World Market. I decided to use it to host several air plants and add some interest to an empty wall.

The second element was creating a conversation circle with furniture. We already had a shag rug, vintage rug and a mid-century coffee table to start. So, those elements kicked off the inspiration for the space. Having enough seating for our family and guests is important. Our previous home didn't have a formal living room, so we purchased additional furniture for this space. I fell in love with this blue velvet sofa from Cost Plus World Market. It was unique and it married my dining room and living room perfectly with the color. We added two mid-century style leather chairs, and placed fuzzy throw pillows on them for texture.

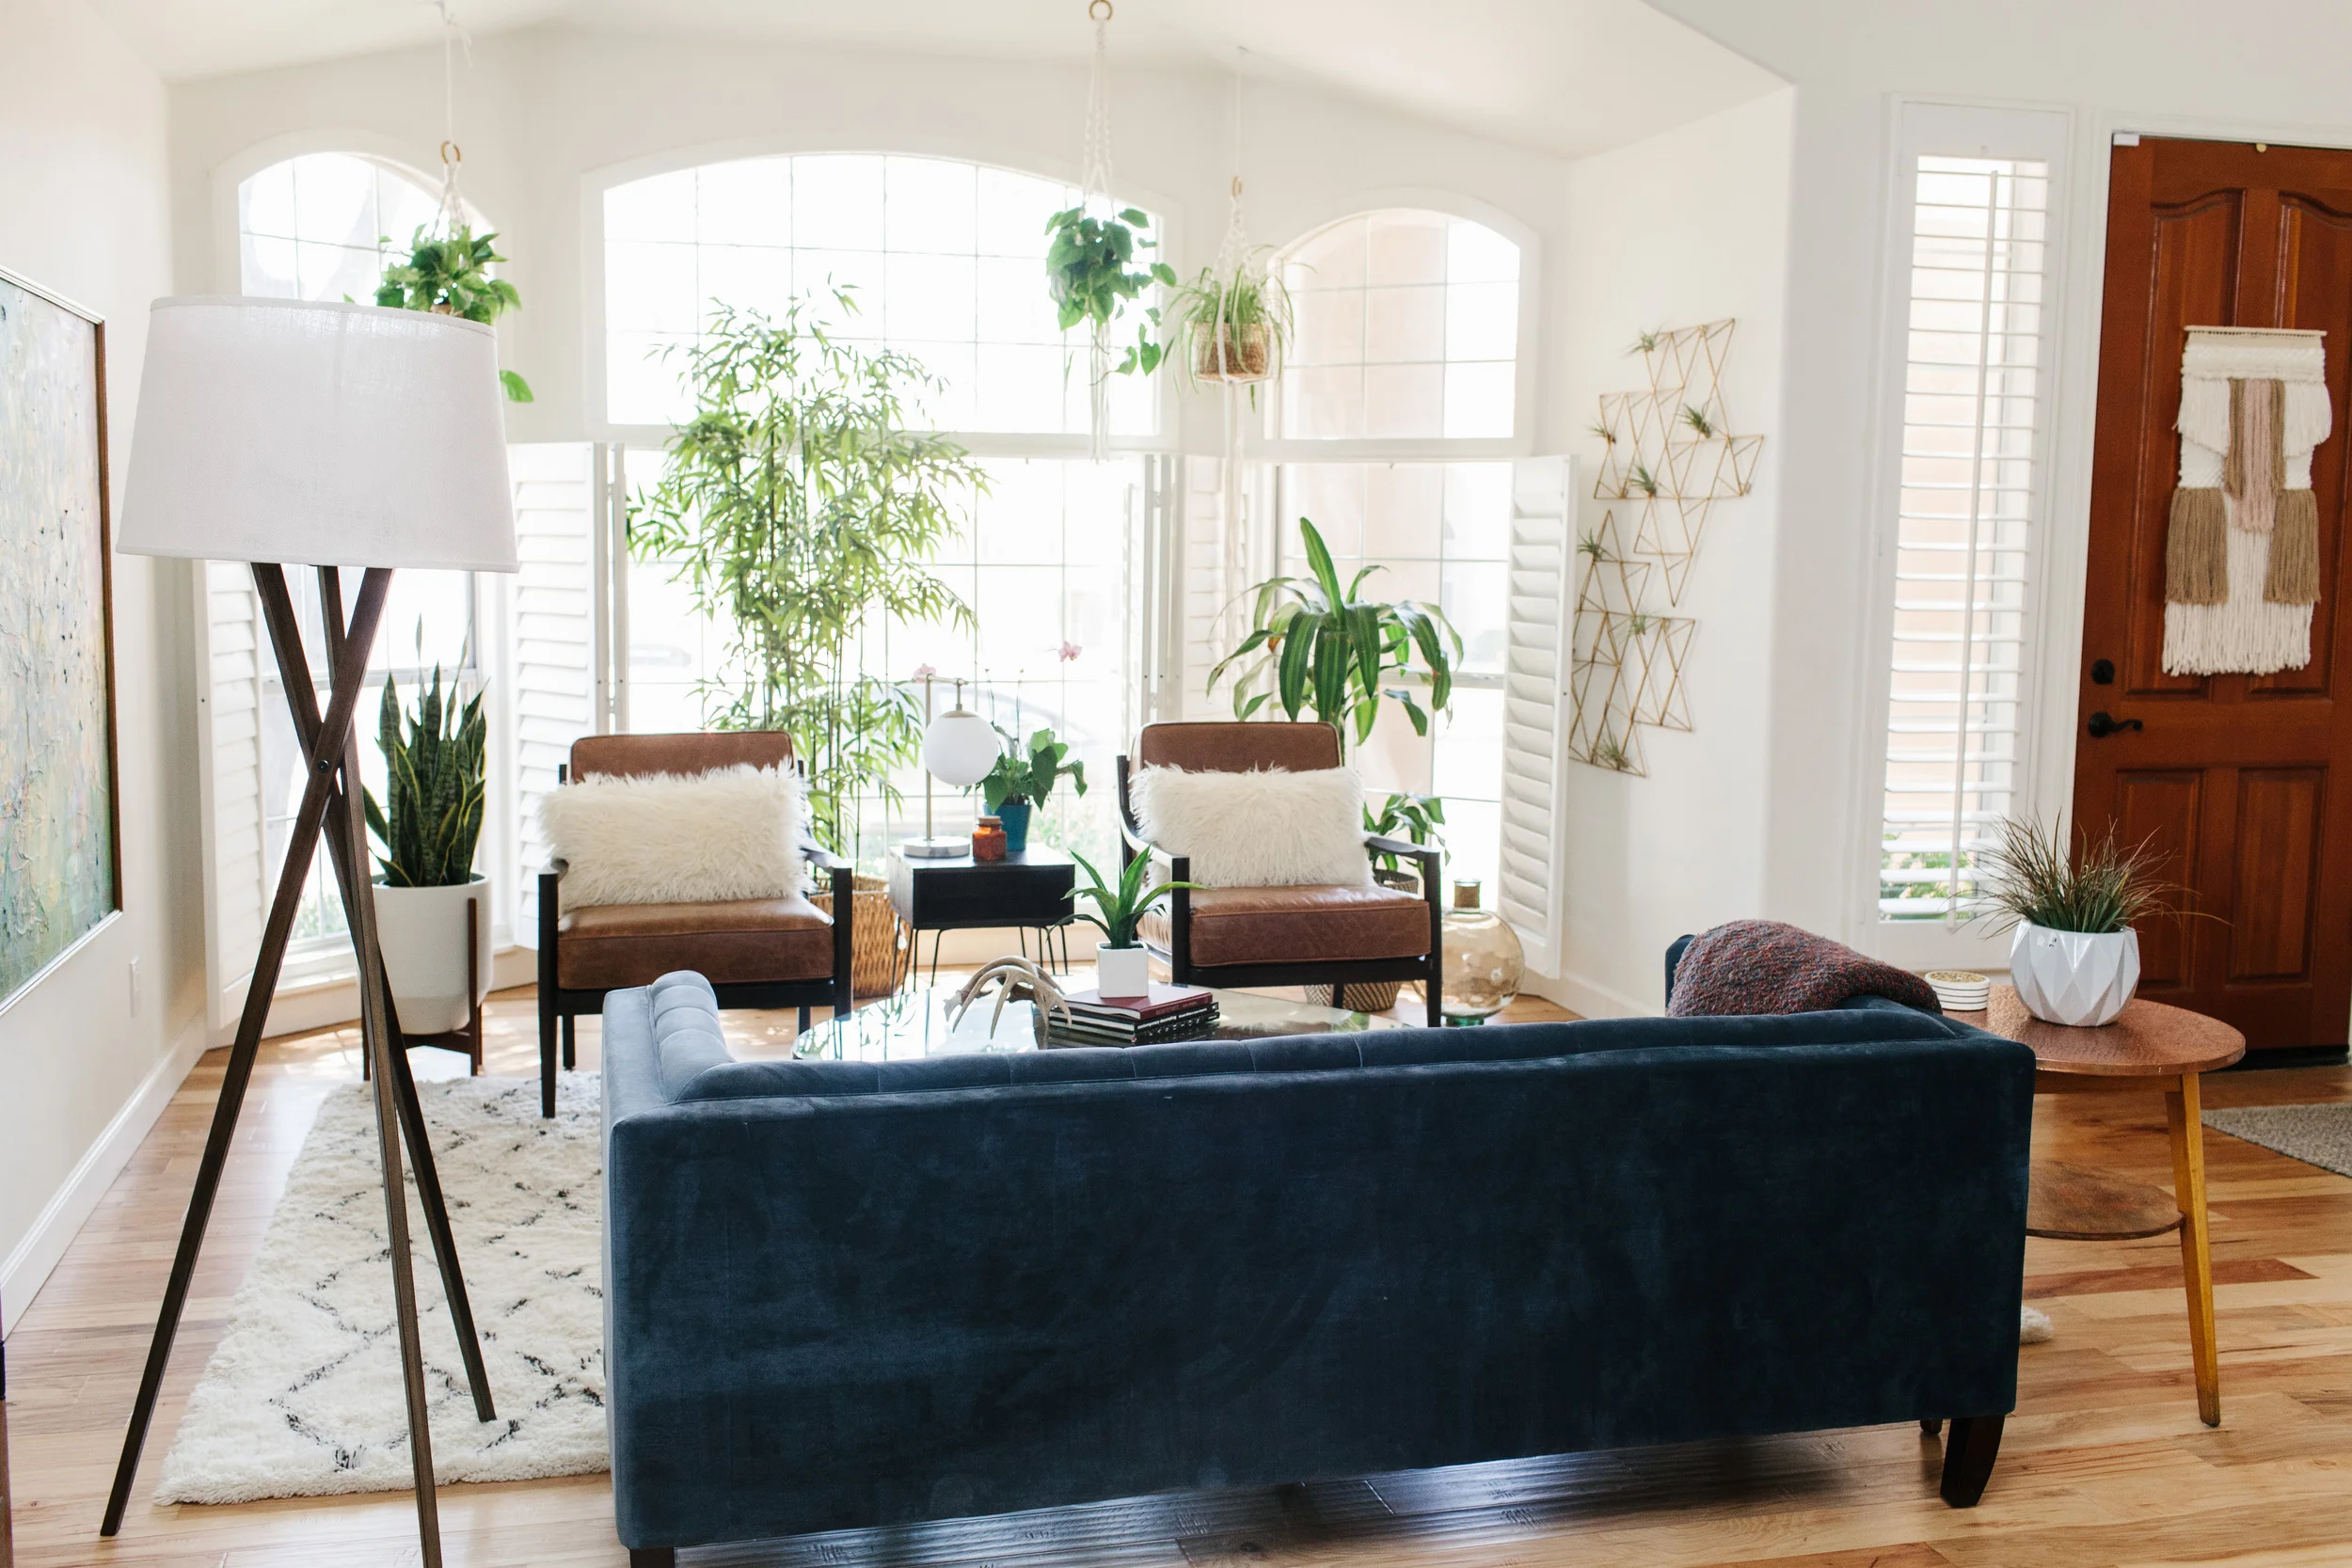
To separate the chairs, I found the perfect mid-century style accent table at World Market that had hair pin legs, and then I found a brass mid-century table lamp to to with it. I love the unique bubble shape and marble base.

Good lighting is important for conversation. This room had plenty of natural light, but at night we needed something more than just a table lamp to illuminate the room. I spotted a cool wooden tripod floor lamp at World Market and grabbed a linen lamp shade to keep with the soft elements of the room. It was exactly what we needed.

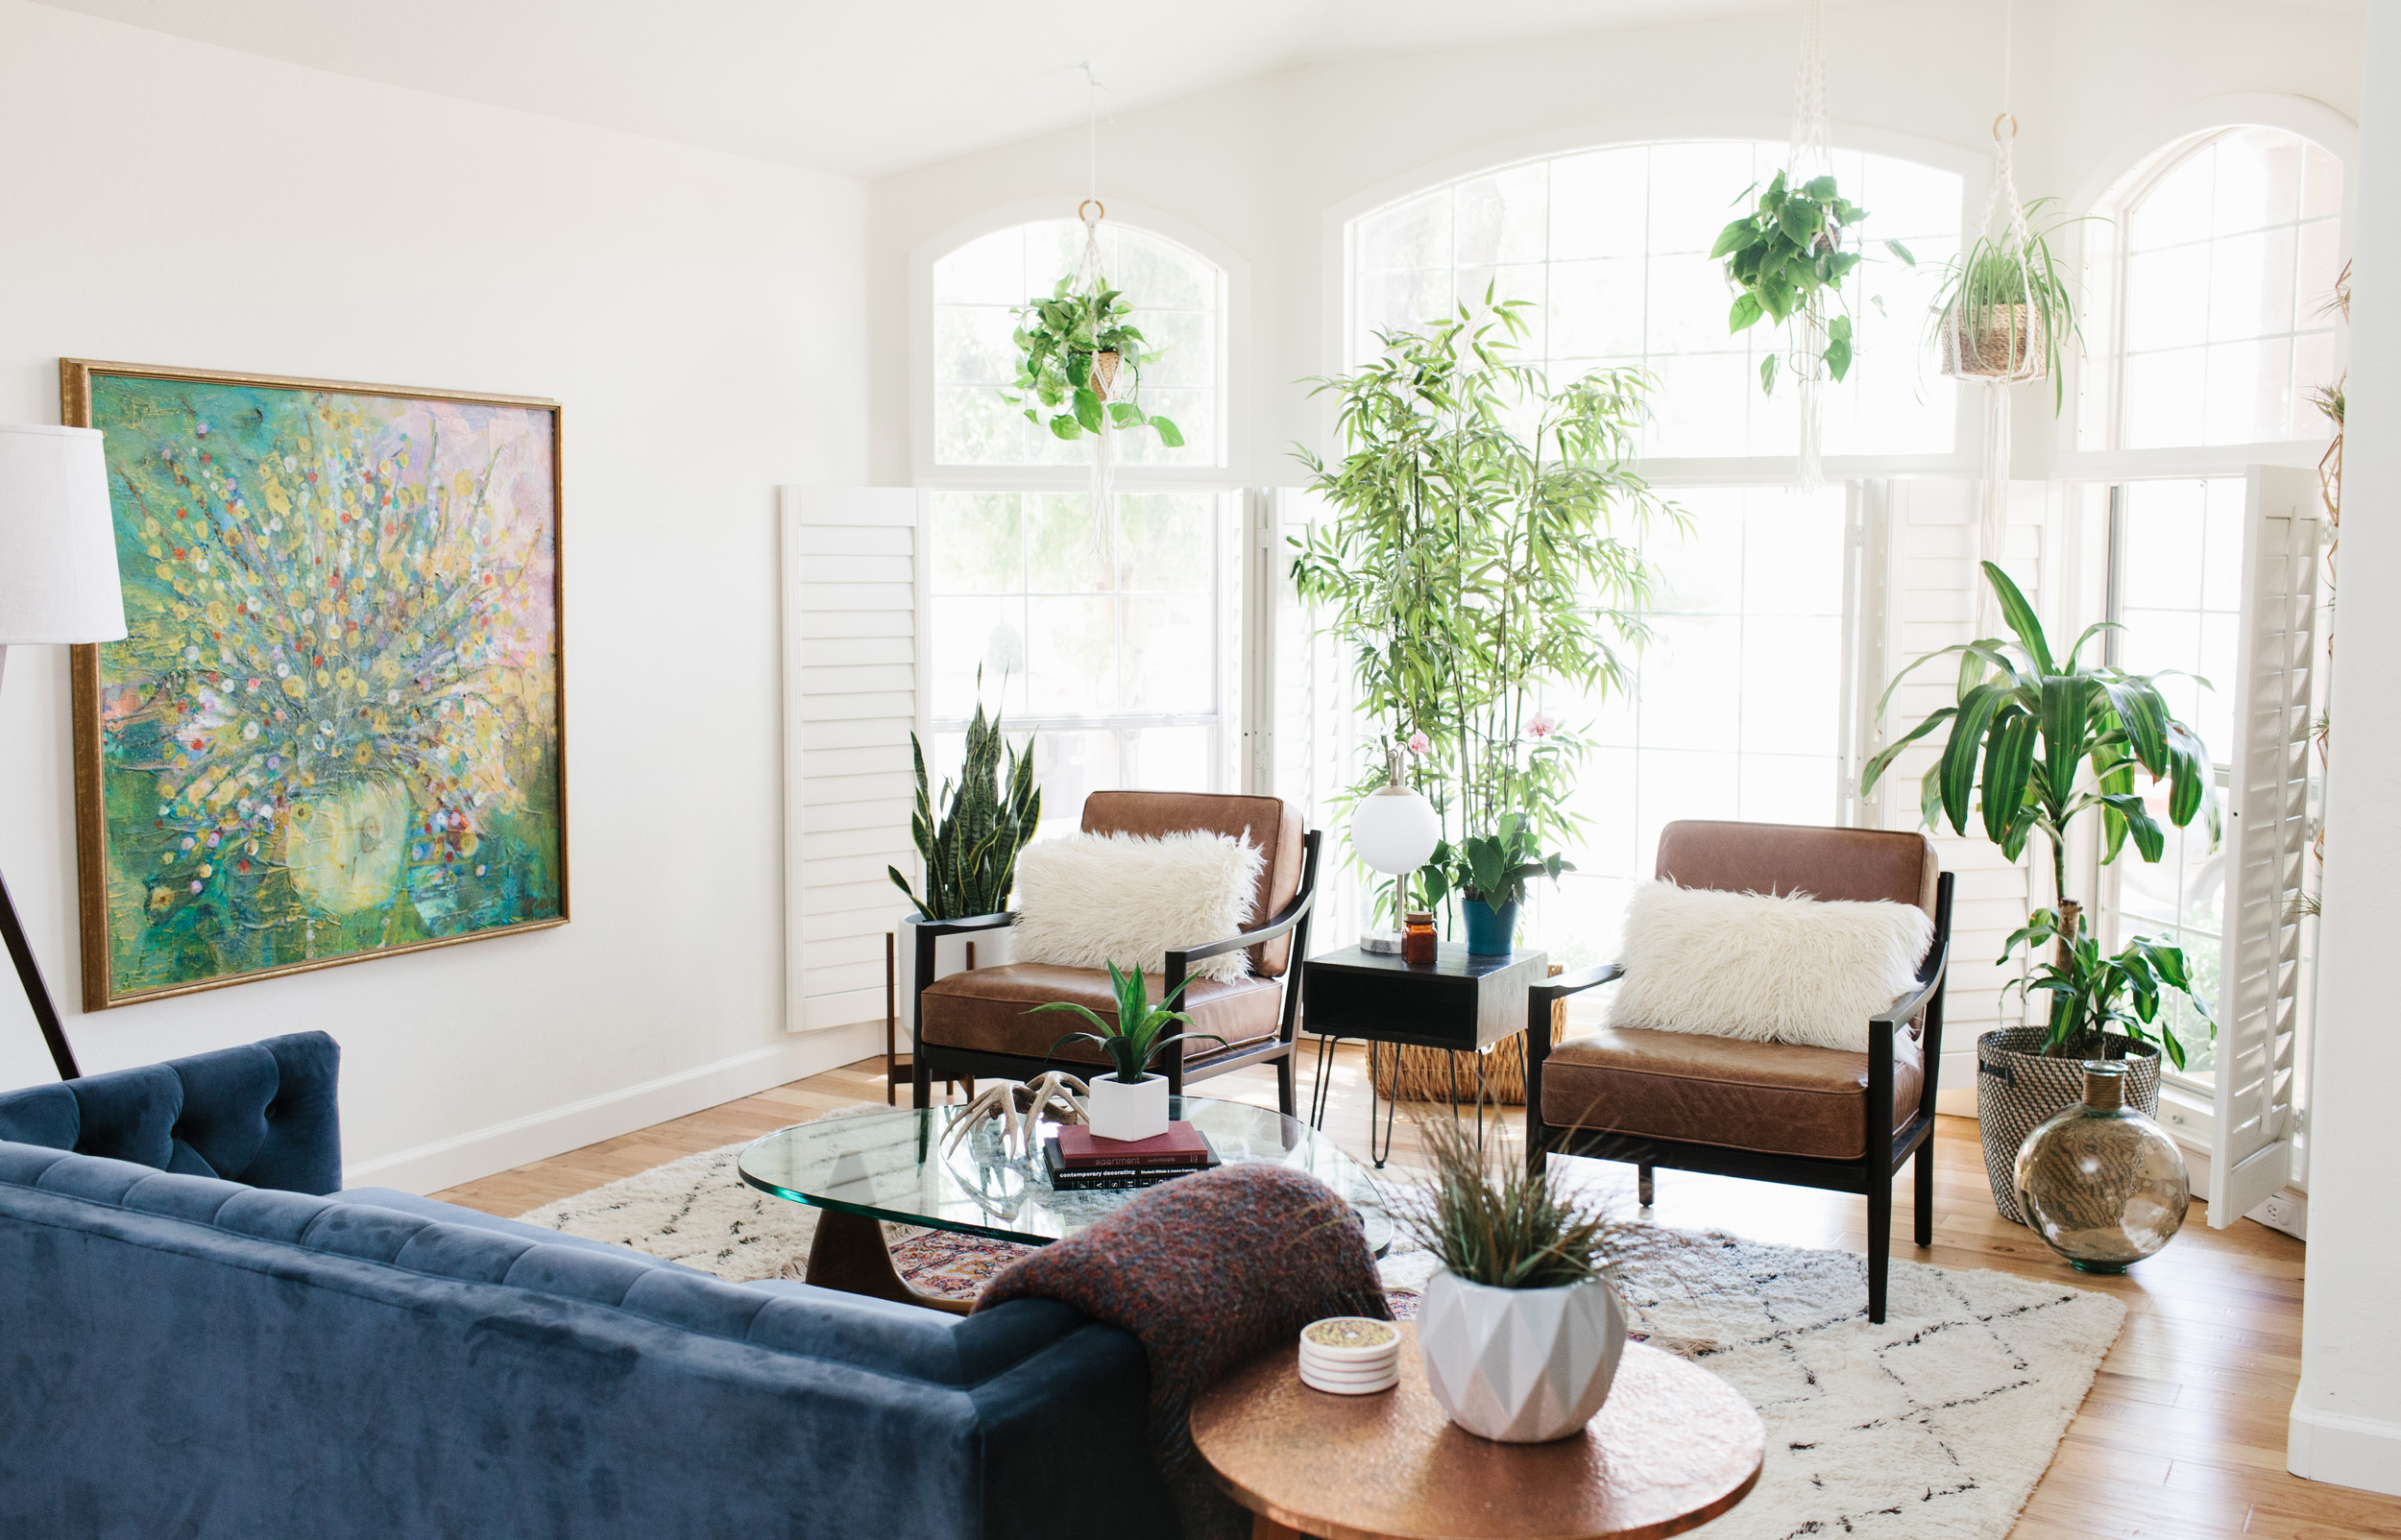
The third element to our livable space is including inspiring art. For my birthday, my mom let me have a painting I had grown up with in my childhood home. It just so happens to be my favorite piece of art because of the memories I have staring at the colors and texture. It makes me so happy when I look at it every day.

This room has become my favorite space in the house. It's cozy, modern and inspiring, which are all of the elements that make me was to live in a house. You can shop the room below, and head on over to World Market STAT because that are having a big living room sale. Many of the items from this room are from their latest Naturals collection and on sale, so go quickly!

Shop the room:

Photos by Rennai Hoefer

SUBURBAN KITCHEN TRANSFORMATION

We always said we would never live in the suburbs. Well, never say never folks because we are rockin' the suburbs now. Maybe the minivan will come next because we also said we would never buy one of those too. We moved away from the city because Ryan was commuting an hour each way to work and we were craving way more family time. It was bittersweet to say good-bye to our cute 1950's ranch house and buy a home in a development where all of the architecture looks the same. Afterall, it was our first house, the place we brought Elle home to and we had put a ton of work into it.  

When we found our new home we knew it would need some work to update it, but the layout and bones were perfect. Ryan and I decided the first thing that we would going to do was repaint the whole house white, replace the flooring downstairs and upstairs and get new appliances. We wanted to start with a clean slate, and the first room to tackle was the kitchen.

As I am sure you know everyone congregates in the kitchen no matter how big or small. You cook three meals a day in there, and with little ones I'm always in there getting snacks too. This kitchen had the original appliances from the 1990's. They were functioning, but the oven seemed like it was going to fall over when you opened the door. We upgraded to stainless steel Kitchen Aid appliances. Though their original oven was electric we saw there was a gas line available, so we chose a gas stove. We are super happy with everything except the fridge. It feels a bit cheap when you open the freezer. 

We chose to pain the walls and cabinets West Highland White by Sherwin Williams. We LOVE this white. It's warm and bright and not too yellow at all. For the new floors we picked out a hand-scraped hickory that had a lot of color variation. We wanted to minimize the appearance of scratches or marks, and we are sooooo happy with this choice. It goes with all of our furniture really well.

I knew I wanted to add hardware to the cabinets. I was toying with the idea of gold handles, but I would have add to change out all of the hinges because you could see the antique brass poking through. Instead, I went with antique brass modern handles from PullsDirect.com. They were under $3 a handle verses $8 to $12 for gold. With 30 cabinets to accessorize you bet I went with the cheaper option. 

We weren't in love with the existing beige speckled countertops, but we didn't have the budget to replace them all. Instead, I found mini hexagon marble tiles that had some flecks of brown in them but also incorporated gray and white. By splurging on carrera marble we were able to elevate the kitchen without having to spend the extra amount on the countertops. 

We are so in love with our newly upgraded kitchen. It finally feels like "us." Sadly, however, a month after we renovated our kitchen flooded and destroyed our new floors and lower cabinets. Luckily we have some leftover wood and the damage isn't too bad, but it definitely is frustrating that we have to rip up the floors again. Oh well! That's life I guess. haha.

Front Door Makeover

evjenhouse3web.jpg
IMG_20110711_192816
IMG_20110711_192816
IMG_20110711_192722
IMG_20110711_192722

Earlier this week I shared with your our backyard makeover, and now I'm going to share with you our front door makeover. When we first bought our bank owned property our front door had a security gate on it, which wasn't attractive at all. Also, our front door wasn't even a REAL front door. It was an interior door that had been kicked in at some point in time (oh yeah, baby).

The front yard looked like old people lived there with randomly placed bushes and pale green paint to "match." Oh, that paint! The red brick with the green color just made me cringe.

frontdoor
frontdoor

So, we changed the exterior of the home by painting it gray, and adding a pop of color with a "grellow" front door. We bought a door light kit on Crestviewdoors.com and then we purchased a solid wood door from Home Depot. With the help of my father-in-law we were able to install the light kit and add some shiny new hardware to make our home look more modern.

evjenhouse4web
evjenhouse4web

I highly recommend door light kits over buying some expensive new door. It doesn't take more than a half a day's work to create a statement for your home. Not to mention, the inside of our house is filled with so much more light.

Screen Shot 2015-05-07 at 4.16.56 PM

Now we just need to do some more landscaping to make the front have more curb appeal.

Photos of the new exterior by Gina Meola.

Backyard Remodel

Ryan and I bought our home in 2011. It was a bank owned property that had been neglected for almost a year. We didn't have too much money, and we couldn't afford a move-in-ready home in the middle of the city, so we bought a little ranch fixer upper, and when I say fixer upper I REALLY mean it too. backyard5backyard4

It had what you would call "good bones," but it desperately needed some TLC as you can see. The whole backyard was a mess of dead oleanders leading to an alleyway for the trash. Our view was less than stellar to put it nicely.

backyard6

So, more than giving our house some extra curb appeal, we decided to remodel our backyard.

Screen Shot 2015-05-05 at 4.43.35 PM

We hired a landscape architect to draft some plans for us. I HIGHLY recommend talking with a professional. We chose plants that weren't water suckers, we put in a drip system, we re-graded the yard, built a new block wall, added a pergola, and resurfaced and extended the patio. We also put in a new gate separating a grassy area and pool area to make it safe for Elle to run around outside.

Screen Shot 2015-05-05 at 4.43.19 PM

It was so worth the investment because we're able to enjoy the outdoors so much more! Just anticipate the process of overhauling your yard to last two months or so. Eep!

I'll be sharing more before and afters or our home in a couple days. Wait until you see the front and inside of our house...Let's just say our front door used to be a kicked in door from the inside of the house. EEK!

Circle of Stylists: How to Get Out of Your Style Rut

circle-of-stylists.jpg

Even stylists get stuck in a fashion rut. To prove that to you, Reachel Bagley, Becki Crosby, Summer Bellessa and I got together to style each other. We are all stylists and fashion experts, and we are just like every other woman - we like to wear the same thing time and time again because we know it looks great on us. thumbnail-circle-of-stylists-ave-)ce

I had the chance to style Reachel Bagley of The Cardigan Empire. Her struggle was wearing the same shape over and over again - a pencil skirt and top with a cardigan or jacket. Check out what I did to get her out of her box.

----------------------------------------­­­-------------------
MAKEOVER WARDROBE
----------------------------------------­­­-------------------
Get new clothes selected for you by a Le Tote Stylist based on your fashion profile.  Wear it as long as you like, keep what you want, send the rest back, and they will ship you a new box.
Leopard Tunic:  http://bit.ly/1wIRbOS
Chevron Necklace: http://bit.ly/1CyzDGS
Leather Leggings: http://bit.ly/1EMHQGZ
thumbnail-circle-of-stylists-whippy-)ave2

My style rut is gravitating to all black these days. It's an easy color that is chic, makes me feel slimmer and my shoes match. To get me out of this pattern, Becki Crosby of Whippy Cake, a fellow fashion stylist and brand stylist, gave me a new direction. Check out the video below.

What do you think of my new look? To get it check out the links below.

----------------------------------------­­­-------------------
MAKEOVER WARDROBE
----------------------------------------­­­-------------------
vertical-graphic-text
To see all of the makeovers, follow the links below.